


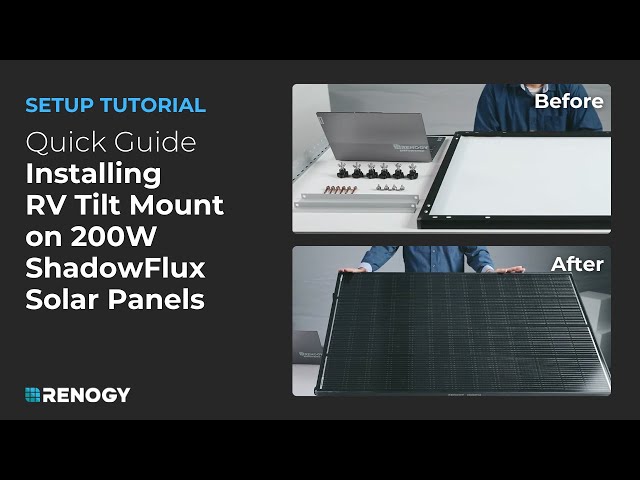
Install 200W ShadowFlux Anti-shading N-Type Solar Panel with a RV tilt Mount
Installing a solar panel can seem daunting, but with the right tools and guidance, it can be a straightforward process. In this article, we'll walk through the installation of the 200W ShadowFlux Solar Panel using an RV tilt mount, making it quick and easy for you to harness solar energy.
What You’ll Need
Before you start, gather the following tools and materials:
- 200W ShadowFlux Solar Panel
- RV tilt mount
- Bolts, washers, lock nuts, and wing nuts (included with your panel)
- A wrench for tightening
Mounting the Panel
- Prepare the Panel: Begin by attaching the first set of brackets to the solar panel. For each bracket, insert a bolt through the panel, followed by a washer, then a lock nut on the underside. Finger tighten the nut to hold it in place.
- Secure the Brackets: Once the brackets are attached, use a wrench to tighten them firmly. You should now see the first set of brackets securely affixed to the panel.
- Positioning the Mount: Next, place the other set of brackets that will be mounted onto your roof. Although we’re simulating this part, you’ll want to ensure that one support bracket is positioned on each side of the panel.
- Attach Support Brackets: Each side will have three brackets. For each bracket, insert a bolt, followed by a washer and a lock nut. The wing nut is particularly handy as it allows for easy hand-tightening.
- Tilt Adjustment: To achieve the desired tilt (usually between 30° and 35°), attach the support brackets accordingly. This will enable you to adjust the angle of the panel for maximum sun exposure.
- Finalizing Installation: Once both sides are complete, make sure they match in terms of the holes used so the panel is even. Hand-tighten all connections securely.
Running the Wires
With the panel mounted, the next crucial step is to run the wires through your roof surface. For this, you’ll want to utilize a waterproof cable entry housing, which is designed to protect your connections and ensure durability against the elements. Recommended cable gland:
 Renogy Solar Double Cable Entry Gland View more
Conclusion
Congratulations! You’ve successfully installed your 200W ShadowFlux Solar Panel. This quick tutorial proves that with a little patience and the right tools, setting up your solar panel can be a breeze.
Now that your panel is mounted and ready to go, you can start enjoying the benefits of solar energy in your RV. If you need any further assistance or tips on maximizing your solar setup, feel free to reach out!


