


Wanderer 10A PWM Charge Controller Setup
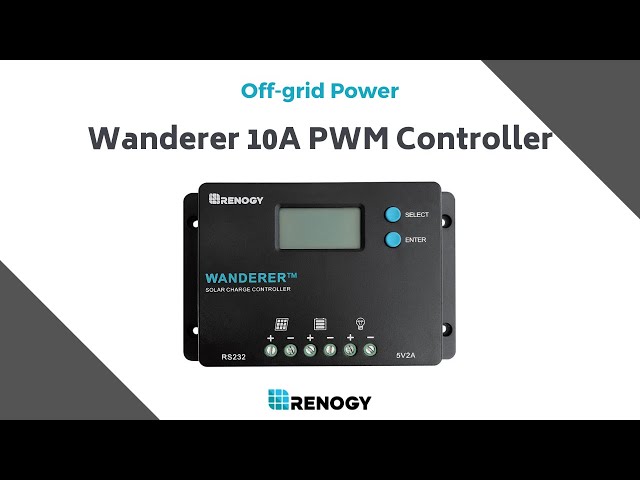
Learn how to connect the Wanderer 10A PWM Charge Controller to a battery and solar panel. The controller is designed for 12 or 24 volt systems. Start by connecting it to a 12 or 24 volt battery using tray cables. The controller will display various parameters, including battery and solar panel voltage, charging and load current, and load mode. You can also set the battery type gel, sealed, flooded, or lithium by accessing the corresponding screen and selecting the desired option. To connect the Bluetooth module, use an RJ12 cable and connect it to the RS-232 port. Finally, connect the solar panel using the provided adapter kit. The PV voltage will be displayed on the controller's LCD screen. This summary provides a brief guide to installing the Wanderer 10 Amp charge controller, and for further assistance, contact the support team.


