


Installing solar panels on your van or RV might seem like a daunting task, but with the right knowledge and preparation, it's a project that many DIY enthusiasts can tackle. This comprehensive guide will walk you through the entire process, from planning your solar system to maintaining it for years of reliable service.
Planning Your Solar System
Before you start drilling holes in your RV roof, it's crucial to carefully plan your solar system. This planning phase will ensure that you install a system that meets your power needs and fits your vehicle.
Calculating your power needs
Begin by making a list of all the electrical devices you plan to use in your van or RV. Include everything from lights and fans to laptops and refrigerators. Note the power consumption (in watts) of each device and estimate how many hours per day you'll use them. This will give you your daily power consumption in watt-hours (Wh). For example:
- LED lights: 10W x 4 hours = 40Wh
- Laptop: 50W x 3 hours = 150Wh
- Refrigerator: 60W x 24 hours = 1440Wh
Add up all your devices to get your total daily power consumption. It's wise to add a 20% buffer for unexpected usage or inefficiencies.
Choosing the right solar panels
For vans and RVs, flexible or semi-flexible panels are often preferred due to their lower profile and ability to conform to slightly curved roofs. Rigid panels are more efficient but require a flat mounting surface.
Consider the available roof space on your vehicle and choose panels that will fit while providing enough power. Remember, you'll need more panel wattage than your daily consumption to account for factors like cloudy days and charging inefficiencies. A good rule of thumb is to aim for 1.3 to 1.5 times your daily power needs in panel wattage.
Selecting batteries and inverters
Deep-cycle batteries are essential for storing the energy your panels produce. Lithium-ion batteries are increasingly popular due to their longer lifespan, lighter weight, and ability to discharge more deeply than traditional lead-acid batteries. Calculate your battery capacity needs based on your daily power consumption and the number of days you want to be able to go without recharging.
An inverter is necessary to convert the DC power from your batteries into AC power for your appliances. Choose an inverter that can handle the maximum wattage you'll need to run simultaneously. Pure sine wave inverters are recommended for sensitive electronics.
Determining mounting options
There are several ways to mount solar panels on a van or RV:
Drill-free mounts: These use strong adhesives to secure the panels without penetrating the roof.
Z-brackets: Small, low-profile brackets that require drilling into the roof.
Tilting mounts: Allow you to adjust panel angle for maximum efficiency but are more complex to install.
Consider your vehicle type, roof material, and comfort level with modifications when choosing your mounting method.
Gathering Tools and Materials
Having the right tools and materials on hand will make your installation process smoother and more efficient. Here's what you'll need:

- Solar panels
- Mounting brackets or adhesive (depending on chosen method)
- MC4 connectors
- Solar cable (usually 10 or 8 AWG)
- Charge controller
- Inverter
- Batteries
- Fuse box and fuses
- Circuit breakers
- Battery cables
- Terminal connectors
- Sealant (for roof penetrations)
- Cable entry housing (for routing cables into the vehicle)
- Cable ties and conduit for organizing wire
For more detail infomation about material and tools, please check this blog. Ensure you have all these items before beginning your installation to avoid delays and multiple trips to the hardware store.
Preparing Your Van or RV
Proper preparation of your vehicle is crucial for a successful and safe solar panel installation.
Choosing the ideal location for panels
Walk around your vehicle and assess the roof. Look for large, unobstructed areas that receive maximum sunlight throughout the day. Avoid placing panels where they might be shaded by roof vents, air conditioners, or satellite dishes. If possible, leave some roof space accessible for maintenance or future expansion of your system.

Cleaning and prepping the roof surface
Thoroughly clean the roof area where you'll be installing the panels. Use a mild detergent and water to remove dirt, grime, and any oxidation. For metal roofs, you may need to sand down any rust spots and apply a rust inhibitor. Allow the roof to dry completely before proceeding.
If you're using adhesive mounts, you may need to apply a primer to the roof surface for better adhesion. Follow the manufacturer's instructions carefully.
Planning cable routes
Determine the best path for running cables from your solar panels to your interior components. Look for existing openings in the roof, such as those used for other wiring or plumbing. If no suitable openings exist, you'll need to create one using a cable entry housing.
Plan the interior route for your cables as well, considering the locations of your charge controller, batteries, and inverter. Try to keep cable runs as short as possible to minimize power loss.
Installing the Solar Panels
With preparation complete, it's time to mount your solar panels.
Mounting brackets and rails
If using Z-brackets or other drilling methods, carefully mark your drilling points. Double-check measurements to ensure panels will be evenly spaced and aligned. Drill pilot holes and apply sealant before screwing in the mounting hardware. For adhesive mounts, clean both the roof and the mount with alcohol, then apply the adhesive according to the manufacturer's instructions.
Securing panels to the roof
Carefully lift the panels onto the roof and align them with your mounting points. Most panels will have pre-drilled holes for securing to mounts. Use stainless steel bolts and lock washers to prevent loosening due to vibration. If using adhesive mounts, press the panels firmly into place and allow the adhesive to cure for the recommended time.
Weatherproofing the installation
Apply a weatherproof sealant around all roof penetrations and mounting hardware. Use a UV-resistant sealant designed for outdoor use. If your panels came with a junction box on the back, ensure it's properly sealed as well. Some installers choose to add a layer of self-leveling sealant around the entire perimeter of each panel for extra protection.
Wiring the Solar System
Proper wiring is crucial for the efficiency and safety of your solar system.
Connecting panels in series or parallel
Depending on your system design, you'll connect your panels either in series (increasing voltage) or parallel (increasing amperage). For most van and RV setups, a series connection is common. Use MC4 connectors to link the positive terminal of one panel to the negative of the next. Always double-check your connections before finalizing.
Running cables from roof to interior
Feed your main positive and negative cables through your chosen entry point into the vehicle. Use a cable entry housing or grommet to protect the wires and maintain a watertight seal. Inside the vehicle, use cable ties or conduit to secure the wires along their route to the charge controller.
Installing charge controller and inverter
Mount your charge controller in a cool, dry location with good ventilation. Connect the solar panel cables to the appropriate terminals on the charge controller. Then, connect the charge controller to your batteries, ensuring proper fuse or circuit breaker installation for safety.
Install your inverter close to the batteries to minimize power loss. Connect it directly to the batteries using appropriately sized cables and fuses.
Connecting to batteries
Use thick, properly rated cables to connect your batteries to the charge controller and inverter. For multiple batteries, connect them in series or parallel as needed to achieve your desired voltage. Always connect the negative terminal last to avoid short circuits.
Setting Up the Interior Components
Proper placement and installation of interior components are crucial for system efficiency and safety.
Placing batteries safely
Install your batteries in a well-ventilated area, secured to prevent movement while driving. For lead-acid batteries, use a battery box to contain any potential spills. Ensure the battery area is easily accessible for maintenance but protected from accidental contact.
Mounting charge controller and inverter
Choose locations for your charge controller and inverter that are easily accessible for monitoring and maintenance. These components should be in cool, dry areas with good airflow. Use sturdy mounting hardware to secure them in place, considering the vibrations and movement of a moving vehicle.
Installing monitoring systems
Many modern charge controllers come with built-in monitoring capabilities. If yours doesn't, or if you want more detailed information, install a separate monitoring system. This typically involves a display unit connected to your charge controller and possibly to your batteries for voltage monitoring.
Testing and Troubleshooting
Before relying on your new solar system, thorough testing is essential.

Checking all connections
Go through your entire system, checking each connection point. Ensure all wires are securely fastened and that there are no loose connections. Use a multimeter to verify correct voltage at various points in the system.
Testing system functionality
On a sunny day, monitor your system's performance. Check that your panels are producing power, your batteries are charging, and your inverter is supplying AC power to your outlets. Run various appliances to ensure the system can handle your typical power needs.
Common issues and solutions
- No power production: Check panel connections and ensure no shade is blocking the panels.
- Battery not charging: Verify charge controller settings and connections.
- Inverter not working: Check fuses and battery voltage.
- Unexplained power loss: Look for loose connections or corroded terminals.
Is There a Complete RV Solar Kit That Comes Ready to Build?
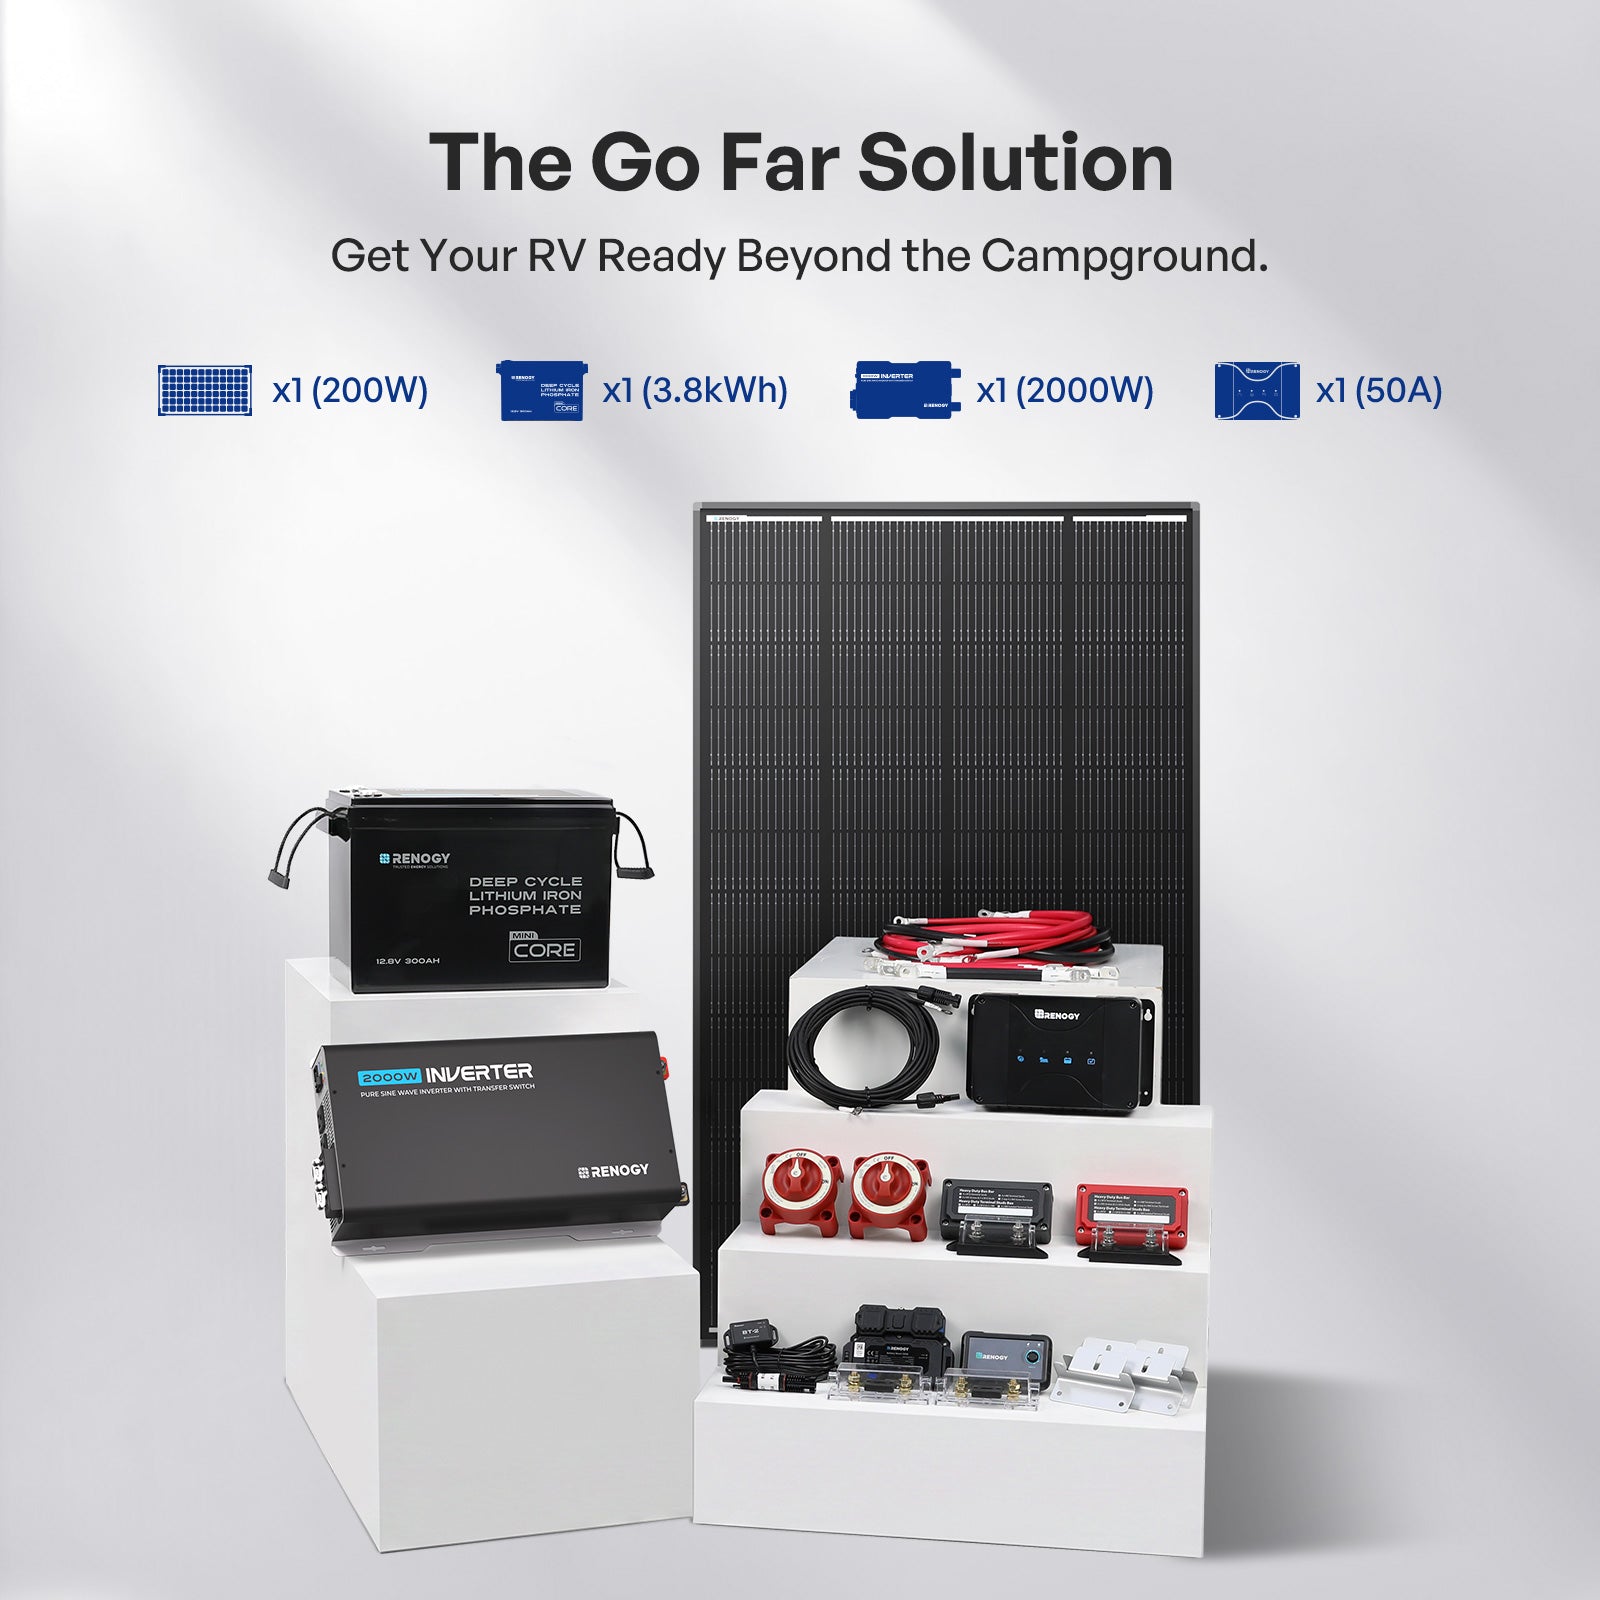
Building an RV solar system doesn't have to mean sourcing every component separately. A complete RV solar kit Go Further 7.6kWh RV Solution includes the essential components in one package, helping reduce compatibility concerns and simplify installation. For DIY users, it's an easier way to get a reliable off-grid power system up and running with less guesswork.
- Complete RV solar system with all power components & accessories pre-assembled.
- 3.8kWh / 7.6kWh optional storage, built with premium anti-shading solar panels.
- Numbered parts, wiring map & guide videos for fast novice-friendly assembly.
- Cut extra repair & part costs; support customizable official add-on package.
- Full Renogy original system, unified after-sales & technical support.
If you're still comparing options or would like a closer look before purchasing, check out the Go Far (3.8kWh) & Go Further (7.6kWh) Launch Overview presented by Renogy Product Specialist Kade, who walks through the system design, key components, and installation considerations in detail.
FAQ about RV solar panel installation
Do I need to drill holes in my roof to mount solar panels?
Not necessarily. There are drill-free mounting options available using strong adhesives.
How much does it cost to install a solar system on an RV?
Costs vary widely, typically ranging from $600 to $3000+ depending on system size and componazent quality.
How do I maintain my RV solar panels?
Regular cleaning and visual inspections are usually sufficient. Clean panels every few months with water and a soft brush.
Can I run my RV air conditioner on solar power?
It's possible but requires a large system. Most RV solar setups are not designed to run high-power appliances like air conditioners.
Conclusion
Installing solar panels on your van or RV empowers you with clean, renewable energy for your travels. By following this guide, you've learned to plan, install, and maintain a solar power system. Embrace the freedom of generating your own power, reduce your environmental impact, and explore off-grid locations with confidence.


