


Loading...
Rover 2 12V/24V 20A/30A Compact MPPT Charge Controller with Bluetooth
SKU:
RCC-M10020-C2-US
$89.99
Unit price
/
Unavailable
+
+
Rays
after purchase.
Log In
About Renogy Membership
New Launch Offer: Enjoy 10% OFF
Add to cart to see your final price! 20A: $81.00 | 30A: $108.00
• Up to 65% smaller than the previous generation, so it fits easily into tight spaces.
• Monitor charging status on the LCD screen or through the Renogy App via built-in Bluetooth, with no external dongle required.
• Our most advanced MPPT technology helps capture more solar power as sunlight changes.
• Full-rated output up to 113°F (45°C), so heat won't slow your charging.
• Connect multiple units in parallel to add more charging capacity as your system grows.
• Supports lithium, AGM, gel, flooded, and user-defined battery profiles.
Rover 2 12V/24V 20A/30A Compact MPPT Charge Controller with Bluetooth - 20A is backordered and will ship as soon as it is back in stock.
Payment Methods


Fast Shipping on All Products

30-Day Return and Refund Service (7-Day for Batteries)

5% OFF Coupon for New Subscriber

Lifetime Customer Support
Show More Benefits
Show Less
Request Bulk Purchase Prices

Rover 2 12V/24V 20A/30A Compact MPPT Charge Controller with Bluetooth
$89.99
Unit price
/
Unavailable
20A
Description
Specs
Includes
FAQs
Downloads
Reviews

Small in Size. Pro in Control.

Now Significantly Smaller
Rover 2 takes a major step forward with a dramatically smaller design, up to 65% smaller than the previous generation. Choose from 20A to 50A, all in a camera-sized footprint.


Fit Easily into Tight Spaces
The compact design helps free up room for batteries, wiring, and other system components, even in crowded RV, van, and boat electrical compartments.
*The dimensions shown above are based
on the 40A model.
Monitoring Just Got Easier
The Rover 2 series now features built-in Bluetooth, so you can finally ditch the external dongle. Check charging status and history in the Renogy App from up to 49ft (15m) away, or quickly verify on the LCD. Easy monitoring. Real peace of mind.
Monitoring Just Got Easier
Rover 2 upgrades to built-in Bluetooth, so you can finally ditch the external dongle. Check charging status and history in the Renogy App from up to 49 ft (15 m) away, or use the LCD for quick checks. Easy monitoring. Real peace of mind.

*The controller displays the voltage measured at its own terminals. Slight differences from the battery terminal voltage are normal and within the specified accuracy.
*The controller displays the voltage measured at its own terminals. Slight differences from the battery terminal voltage are normal and within the specified accuracy.
Harvest More Energyin Changing Light
Rover 2 delivers smarter solar harvesting. High conversion efficiency and our most advanced MPPT algorithm work together to maximize energy harvest, even as sunlight changes throughout the day.
Full-rated Output Even in High Heat
Built to perform in demanding environments, Rover 2 maintains full-rated output up to 113°F (45°C). High-performance MOS components minimize heat generation, while the aluminum alloy heat sink delivers utra-fast, efficient cooling.
*Temperature data is based on Renogy laboratory testing. Actual performance may vary depending on environmental conditions and usage scenarios.
More Than Basic Connections
More Than Basic Connections
More Than Basic Connections
More Than Basic Connections
More Than Basic Connections
When using lead-acid batteries, you can connect the included temperature sensor to monitor
battery temperature for more precise charging control.
battery temperature for more precise charging control.
Connect your solar panels here. Choose your panel configuration by system voltage and max solar input, then size the fuse to match the panel current
Rover 2 series supports 12V and
24V battery systems, so confirm your battery bank voltage before setup.
24V battery systems, so confirm your battery bank voltage before setup.
This can be useful for small DC devices up to 20A, like lights that automatically turn on when sunlight
fades and turn off when it returns.
fades and turn off when it returns.
Connect multiple Rover 2 controllers with an RJ45 Ethernet cable to expand your charging capacity
as your system grows.
as your system grows.

*Do not use the temperature sensor on a LiFePO4 battery with a built-in battery management system (BMS).
*Do not use the temperature sensor on a LiFePO4 battery with a built-in battery management system (BMS).
*Do not use the temperature sensor on a LiFePO4 battery with a built-in battery management system (BMS).
*Do not use the temperature sensor on a LiFePO4 battery with a built-in battery management system (BMS).
*Do not use the temperature sensor on a LiFePO4 battery with a built-in battery management system (BMS).
From Sun to Power, Wherever You Go
From Sun to Power, Wherever You Go

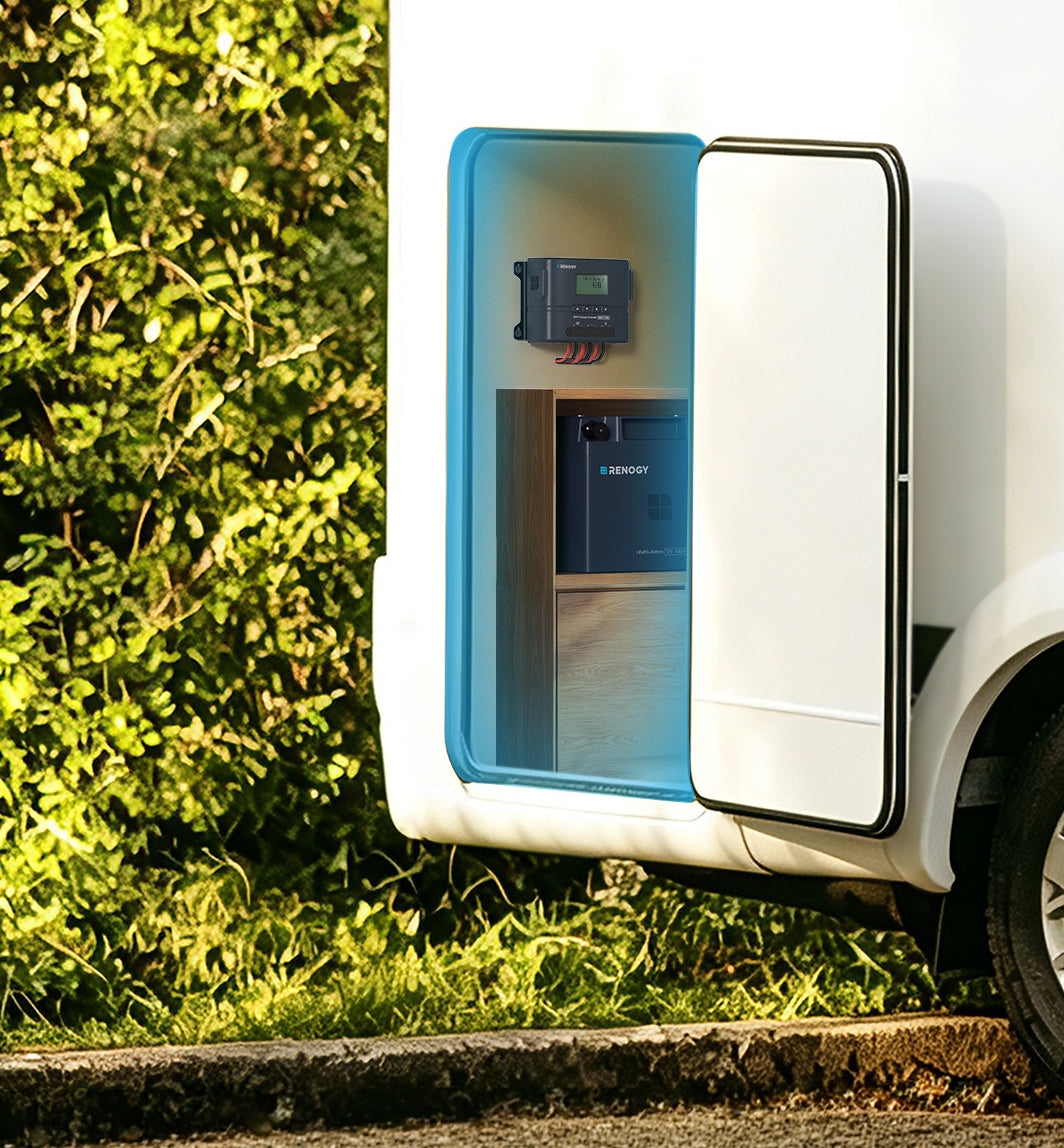
RVs
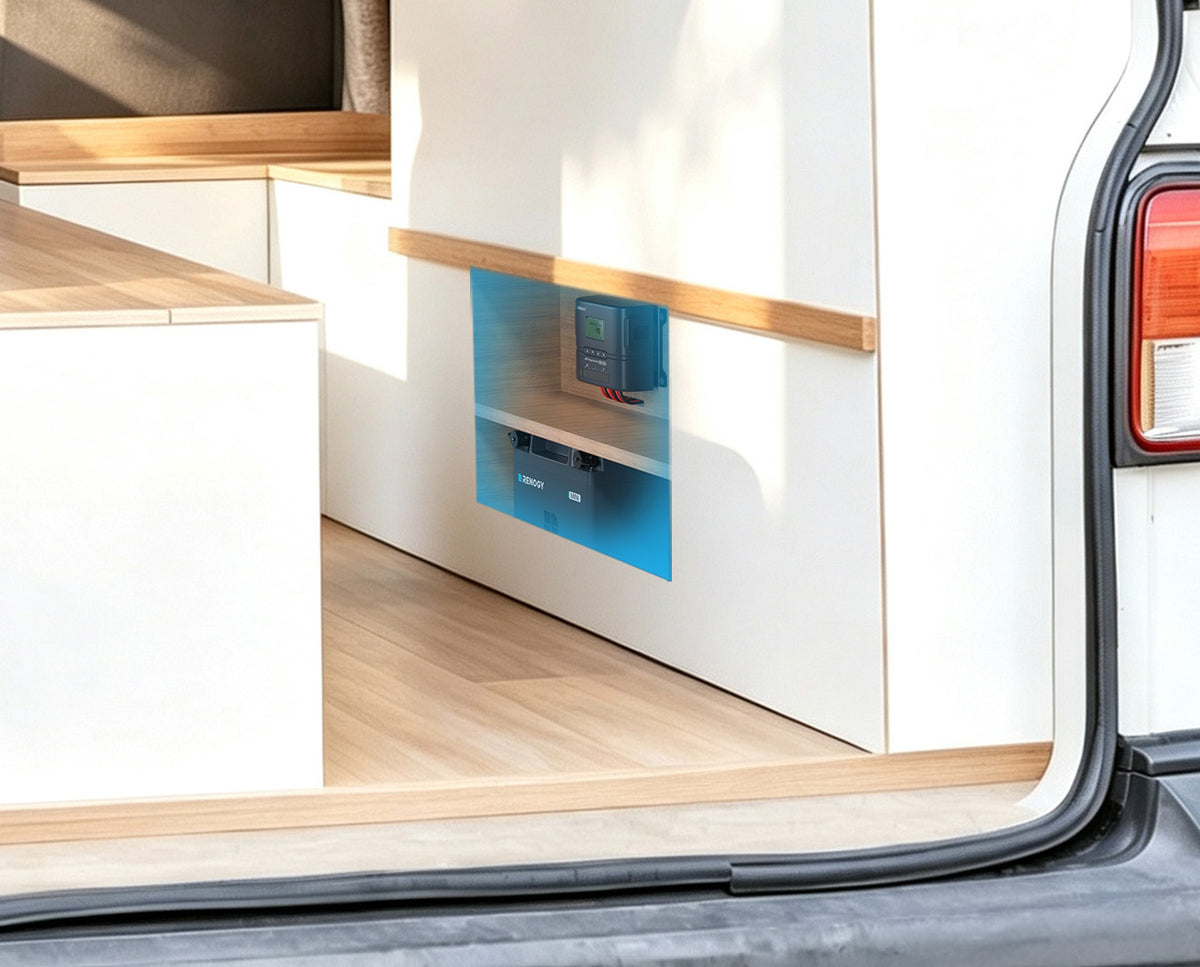

Vans


Cabins
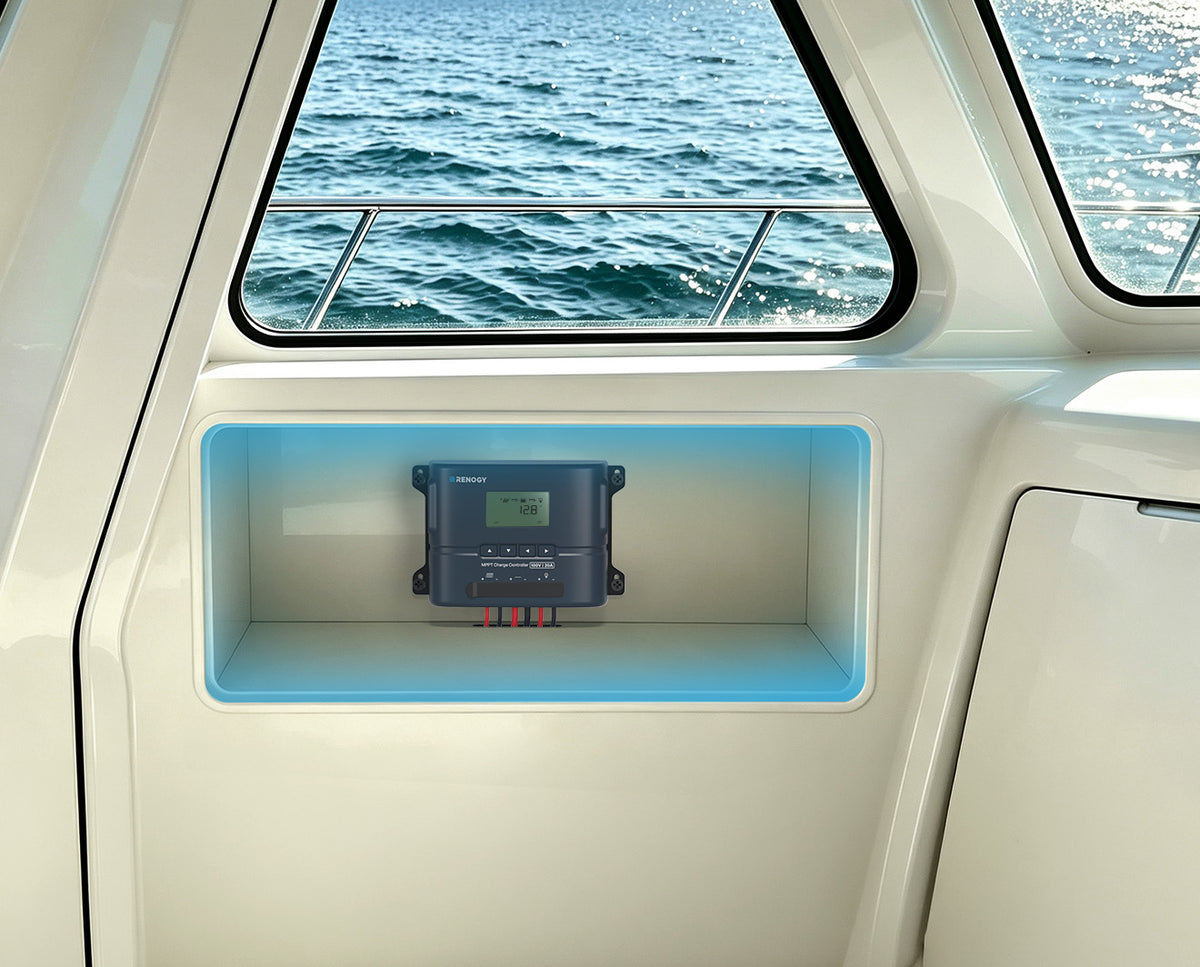

Boats
Worth the Upgrade? See for Youself

What’s in the Box

Core Mini - 12.8V 300Ah Lithium Iron Phosphate Battery
x 1

Long Terminal Bolts (M8 x 1.25 x 16 mm)
x 2

Terminal Bolts (M8 x 1.25 x 12 mm)
x 2

User Manual
x 1


Frequently Asked Questions
Setup & Connections
What Batteries Is Rover 2 Compatible With?
What Batteries Is Rover 2 Compatible With?
Rover 2 supports 12V/24V deep-cycle GEL, flooded (FLD), sealed lead-acid/AGM (SLD), and LiFePO4 (Li) batteries. It also supports User-defined battery settings. For non-lithium batteries, the system voltage can be detected automatically. For lithium batteries, you need to manually select 12V or 24V.
Which Rover 2 Model Should I Choose?
Which Rover 2 Model Should I Choose?
Choose the model based on your battery system voltage and solar array size:
20A: 300W @ 12V / 600W @ 24V
30A: 450W @ 12V / 900W @ 24V
40A: 600W @ 12V / 1,200W @ 24V
50A: 750W @ 12V / 1,500W @ 24V
The solar input voltage must be within 15–100V Voc, and the PV short-circuit current must not exceed the controller's rated current.
If you're unsure which model fits your system, you need to confirm your battery voltage, total solar power, and panel Voc/Isc before choosing.
What Is the Connection Order for the Battery and Solar Panels?
What Is the Connection Order for the Battery and Solar Panels?
Always connect the battery to the controller first, then connect the solar panels.
Connecting the solar panels before the battery may damage the controller and void the warranty.
Can I Connect Multiple Rover 2 Controllers to One Battery Bank?
Can I Connect Multiple Rover 2 Controllers to One Battery Bank?
Yes. You can connect multiple Rover 2 controllers in parallel to expand charging capacity.
All controllers must be the same model, each controller must have its own independent solar panels, and the controllers must communicate through RJ45 communication cables (available for purchase from the Renogy Store). The total charging current of all controllers must not exceed the battery's continuous charging current.
How Is the Master Controller Selected in a Parallel System?
How Is the Master Controller Selected in a Parallel System?
The master controller is automatically selected when the parallel system is established. No manual selection is required.
Charging & Troubleshooting
What Does the Exclamation Mark or Fault Icon Mean?
What Does the Exclamation Mark or Fault Icon Mean?
The exclamation mark indicates that a fault has been detected.
Press the Up or Down button on the controller to check the Fault Code. Then refer to the corresponding fault code in the user manual for troubleshooting.
You can also check fault information through the Renogy App.
Why Isn't My Rover 2 Producing the Full Solar Panel Wattage?
Why Isn't My Rover 2 Producing the Full Solar Panel Wattage?
The displayed solar power can be lower than the panel's rated power depending on actual operating conditions.
First, check that the panels are receiving sufficient sunlight and are not shaded. Also check the battery's charging status, as charging power may decrease as the battery approaches full charge or enters Float mode.
If the output is still lower than expected, you need to confirm the solar panel specifications, sunlight conditions, battery voltage/charging stage, wiring, and controller temperature before determining whether there is a problem.
Why Does the Charging Current Drop?
Why Does the Charging Current Drop?
This can be normal.
As the battery approaches full charge and the controller enters Float mode, Rover 2 reduces the charging current to a minimum to maintain the battery.
If the current drops unexpectedly, also check for panel shading, insufficient sunlight, high controller temperature, or voltage drop caused by excessively long PV cables.
Why Isn't My Solar Panel Charging the Battery?
Why Isn't My Solar Panel Charging the Battery?
First check:
Make sure it is daytime and the panels are receiving sufficient sunlight.
Make sure the panels are not shaded.
Check that the solar panel voltage is higher than the battery voltage.
Check the PV wiring and polarity.
Check the solar panel fuse.
Check the panels for visible damage.
If the controller still does not charge, you need to confirm the PV voltage, battery voltage, panel configuration, wiring, and fuse condition before determining the cause.
What Should I Do If the Battery Isn't Detected or the LCD Doesn't Light Up?
What Should I Do If the Battery Isn't Detected or the LCD Doesn't Light Up?
First measure the battery voltage with a multimeter. If the battery voltage is below 8V, Rover 2 cannot detect the battery, so the battery needs to be charged first.
Then check the battery wiring, polarity, and battery fuse.
If the battery voltage is normal but the LCD still does not light up, you need to confirm the battery voltage, wiring, polarity, and fuse condition before determining whether the controller has a problem.

