Troubleshoot Rover Li 20A & 30A & 40A Charger Controllers
This document aims to provide users with troubleshooting guidance for common faults of Renogy Rover Li series charger controllers:
- Rover Li 20 Amp MPPT Solar Charge Controller (SKU: RNG-CTRL-RVR20)
- Rover Li 30 Amp MPPT Solar Charge Controller (SKU: RNG-CTRL-RVR30)
- Rover Li 40 Amp MPPT Solar Charge Controller (SKU: RNG-CTRL-RVR40)
Common problems with the Rover Li Charger Controllers include:
- Battery low-voltage alarm
- Not charging
- Low charging current
- Battery over-voltage alarm
- PV over-voltage alarm
- Incomplete screen display
- Over-temperature alarm
- Unable to switch battery type and voltage
- No output from load
- Short-circuit alarm for the load
- E01 Error
Below are the corresponding troubleshooting steps for different problems.
Battery Low-Voltage Alarm
When a Rover Li Charger Controller shows Battery low-voltage alarm, follow the steps below:
- Check if the battery voltage settings on the controller are correct. Observe if the fault indicator light on the controller is constantly lit. Check if the battery icon on the display screen is flashing. Verify if you have selected the correct battery voltage level, and if they have chosen the USER mode, ensure that the charging parameters are set correctly.
- Use a multimeter to measure the battery voltage and observe if the actual voltage is below the controller's alarm value. Measure the fuse between the controller and the battery to check if it is blown. Inspect the connections for any looseness or melted terminals.
- Use a multimeter to measure the voltage at the controller's BAT port and compare it with the displayed battery voltage on the controller interface and the actual battery voltage. This will help determine if the controller is faulty.
Not Charging
- Observe the PV and battery voltage on the main interface of the controller. Determine if the battery is over-discharged and if the controller recognizes the PV.
- If the PV is not recognized, first check the PV wiring for any reverse connections or other issues. Once the wiring is confirmed to be correct, test the voltage at the controller's PV port to determine if it meets the charging requirements.
- If the battery is not recognized, first check the battery wiring for any reverse connections or other issues. Once the wiring is confirmed to be correct, test the voltage at the controller's BAT port to determine if the battery has been over-discharged.
For details, refer to the video below:
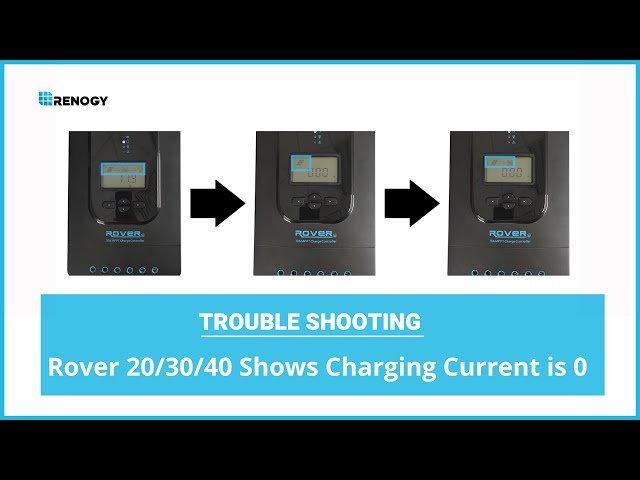
Low Charging Current
- Observe the battery voltage on the controller or software interface to determine if the battery is fully charged and in the float charging stage. If it displays normally in that interface, it indicates normal operation.
- Observe the current PV charging voltage and consider the PV system's connection method to determine if the PV input is functioning properly.
- If there is an abnormality in the PV input, suggest check if the PV is faulty or consider changing the existing PV connection method.
- Verify that you have set the battery type and charging parameters correctly and reasonably.
Battery Over-Voltage Alarm
- Check if the battery voltage setting on the controller is correct. If you have selected the USER mode, also verify if the charging parameters are set correctly.
- Use a multimeter to measure the battery voltage and observe if the actual voltage matches the alarm value set on the controller.
- Use a multimeter to measure the voltage at the BAT port of the controller and compare it with the displayed battery voltage and actual battery voltage on the controller interface. This helps determine if the controller is faulty.
- Confirm if the battery is a lithium battery and if it meets the requirements for lithium battery peak voltage.
Note:
If you are using lithium batteries and experiencing issues related to lithium peak voltage, the recommended troubleshooting process is as follows:
- Inquire about the battery charging parameters and the parameters set within the controller to determine if they match.
- Recommend to lower the charging voltage of the lithium battery to avoid the peak voltage alarm.
PV Over-Voltage Alarm
- Check if the voltage at the PV port of the controller matches the displayed voltage on the controller.
- Inquire about PV quantity, specifications, and connection method to determine if they exceed the standard limits.
- If they are within the standard limits, test the open-circuit voltage of individual PV panels to determine if any of them are faulty.
- Consider voltage fluctuations caused by the environment, especially during low temperatures in winter.
Incomplete Screen Display
- Check if the PV input of the controller exceeds the specified limits.
- Ask you to disconnect the wiring and reinstall it in the correct sequence to observe if the issue can be resolved.
- If the issue persists after performing the above two steps, it indicates a product malfunction.
Over-Temperature Alarm
E06 Alarm: Controller Internal Temperature Too High
- Check the controller's installation environment and space; ensure that it is not too close to the inverter.
- Inquire about usage environment to determine if it meets the requirements.
E07 Alarm: Controller External Temperature Too High
- Verify if the battery is operating in a high-temperature environment.
- Check if there are high-power heat sources near the temperature probe.
Unable to Switch Battery Type and Voltage
After switching the battery, the battery type and voltage cannot be saved. It is recommended to disconnect the battery connection and reconnect it to complete the switch.
No Output from Load
- Check if the LOAD port of the controller is open.
- Inquire about the load information and assess whether the load port can handle the your load.
- Test the current voltage of the battery to determine if it has been over-discharged.
Short-Circuit Alarm for the Load
- Observe the current value on the load interface of the controller. Determine if it exceeds 0.2A.
- Test the current on the load port and observe the actual current value.
- If a load is connected, also check for any short circuits in the load wiring. Additionally, confirm if the load specifications exceed the allowed limits.
E01 Error
For E01 error, see the troubleshooting video below.